Unlike other email service providers integrated with Newsletter Glue, Omeda requires all newsletter campaigns to be approved within its dashboard. This makes the workflow unique compared to other systems.
When you’re ready to fire your campaign using the Omeda integration, follow these steps.
1. Enter the Audience Builder Query, From Email (Mailbox), User ID, and Deployment Type. These 4 settings can be saved by default under Newsletter Glue -> Settings -> Omeda to prevent having to enter them manually for each campaign.
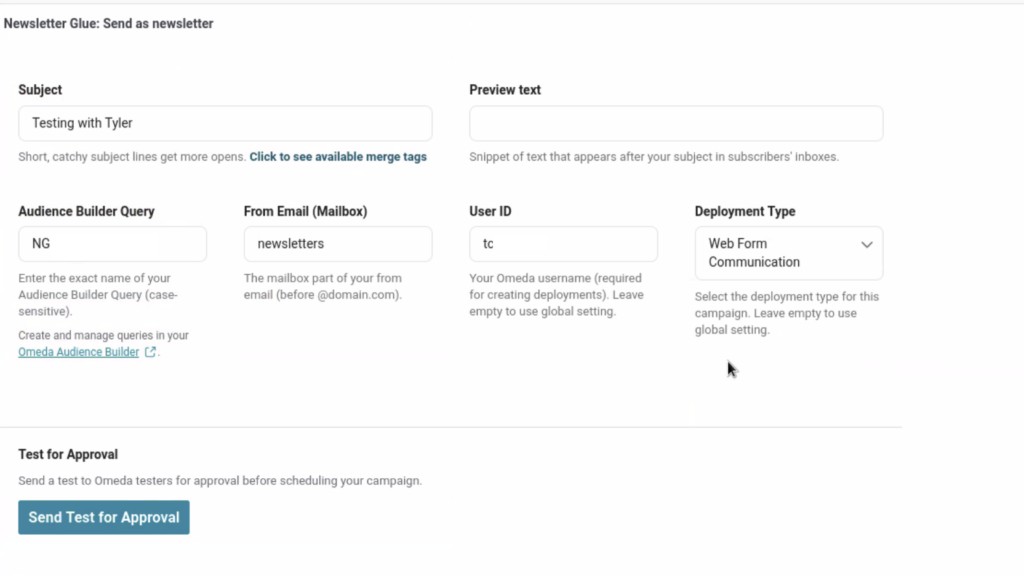
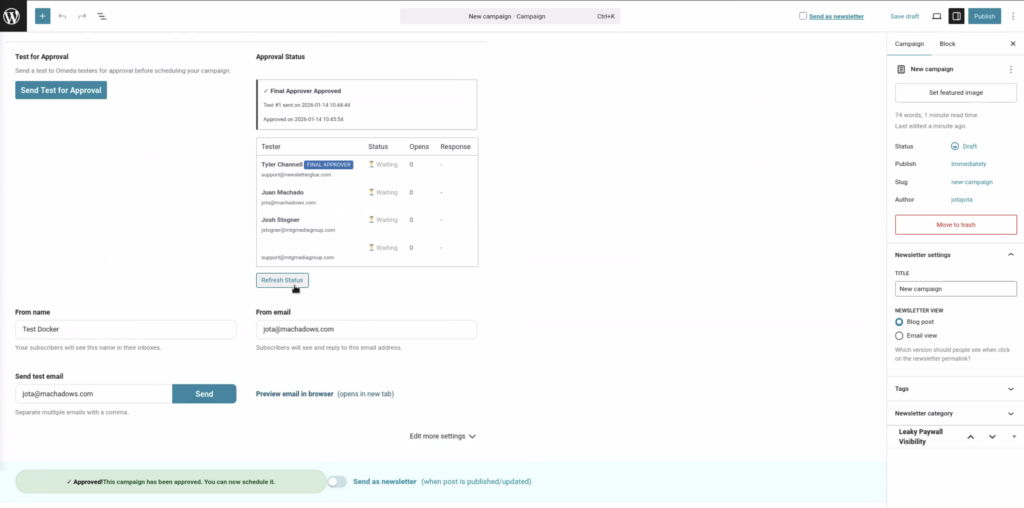
2. Select Send Test for Approval. This will add your newsletter to the approval queue in Omeda for approval.
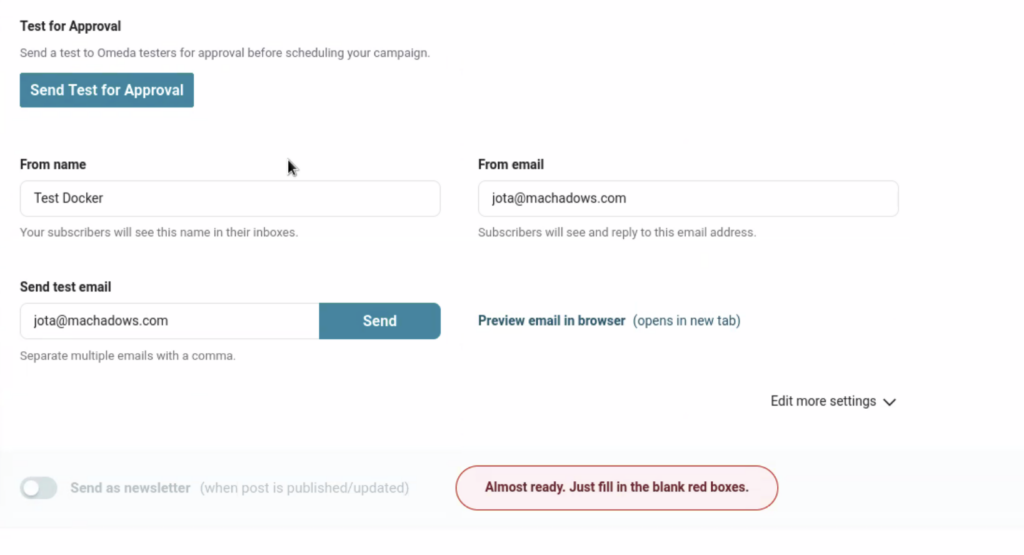
3. Once the Test for Approval is sent, you’ll see the Approval Status: Waiting for Response.
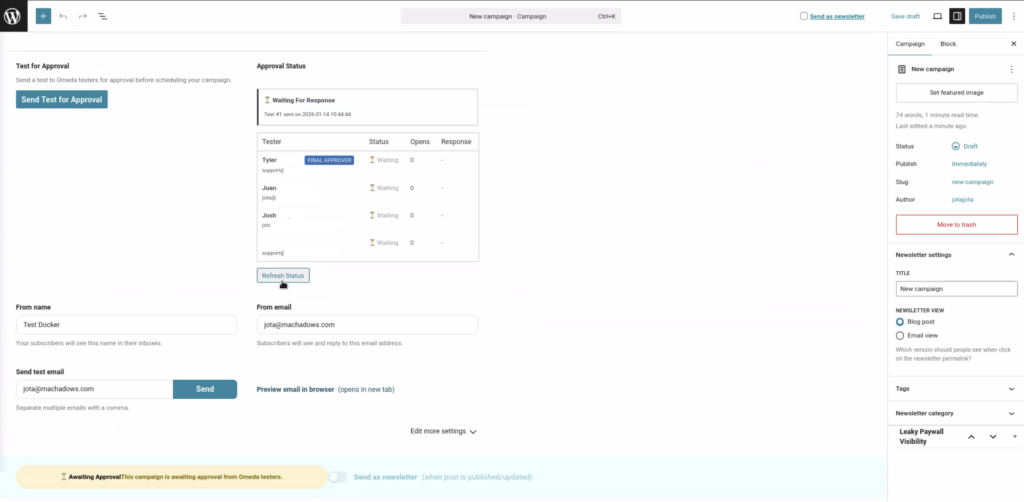
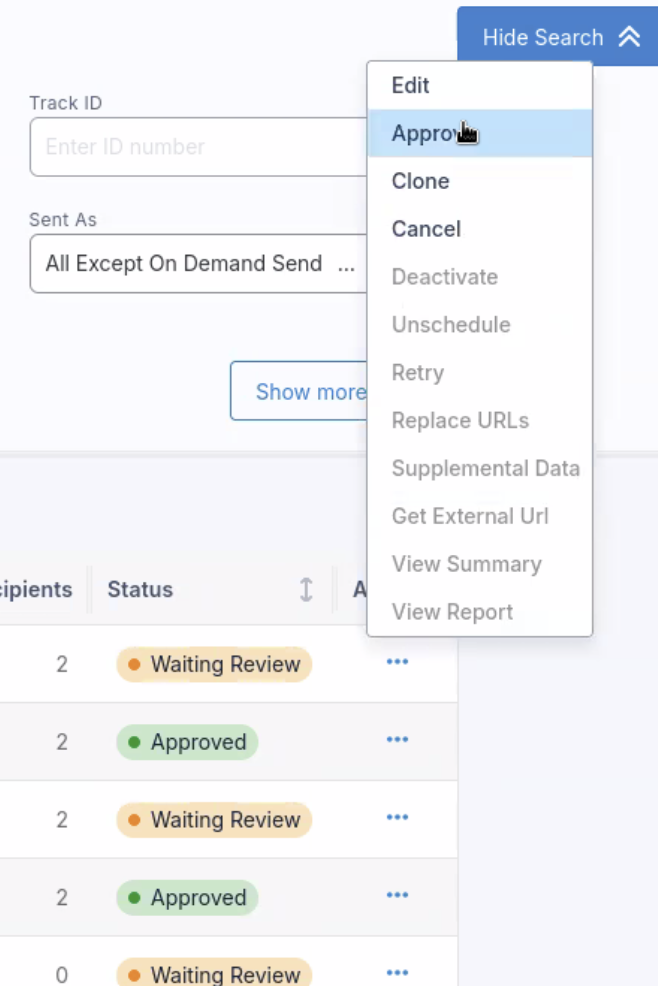
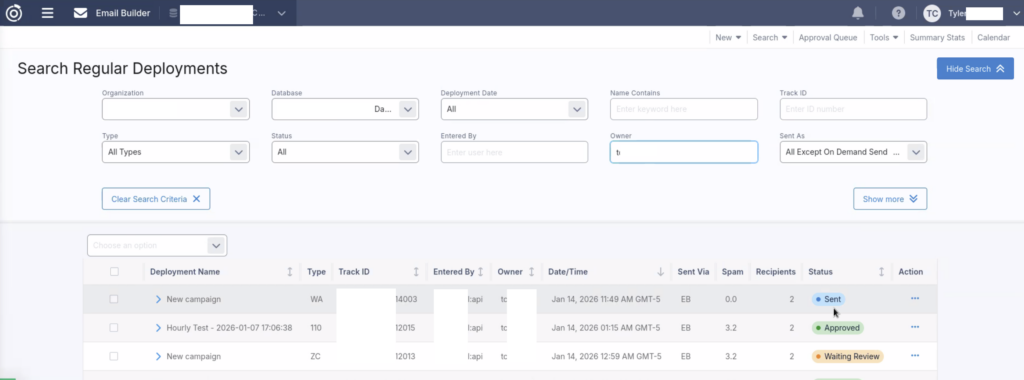
4. Everyone who is required to approve must do so inside the Omeda Email Builder dashboard under Deployments.
Once all is approved, select Refresh Status, and you’ll see the option to send the newsletter campaign. Select the Send as newsletter toggle and Publish the newsletter.

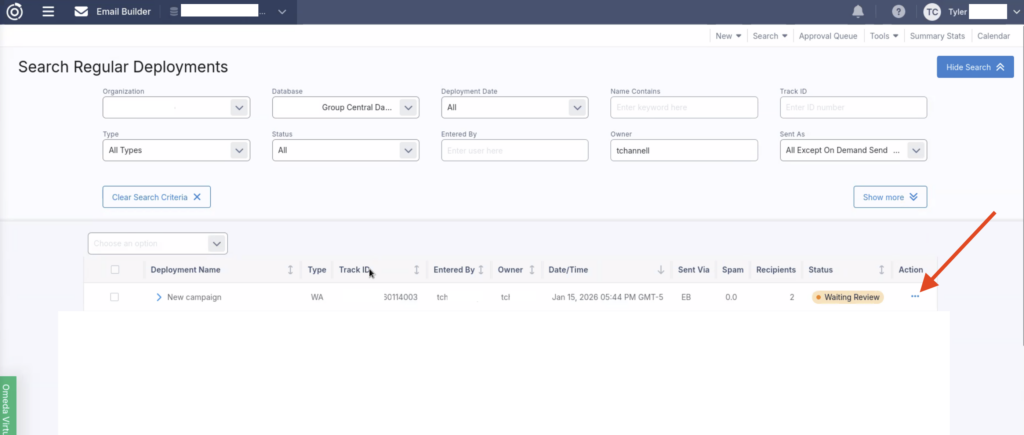
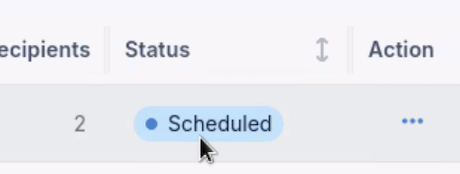
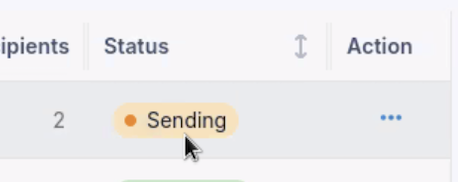
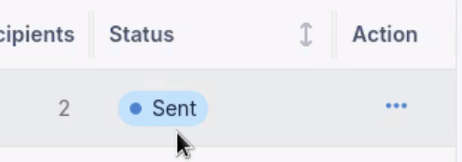
To check the status of the newsletter, visit the Omeda Email Builder dashboard. Your newsletter campaign will automatically cycle through Scheduled -> Sending -> Sent.
And that’s it! Your Newsletter Glue-designed newsletter campaign has been sent through the Omeda email service provider.