
This integration connects Newsletter Glue to BirdSend, so you can build newsletters in WordPress and send them as BirdSend broadcasts. BirdSend connects with OAuth 2.0, which means you authorize Newsletter Glue from inside your BirdSend account. There is no API key to copy.
Before you start
All you need is a BirdSend account and the Newsletter Glue plugin installed and activated on your site.
Connect BirdSend from Settings
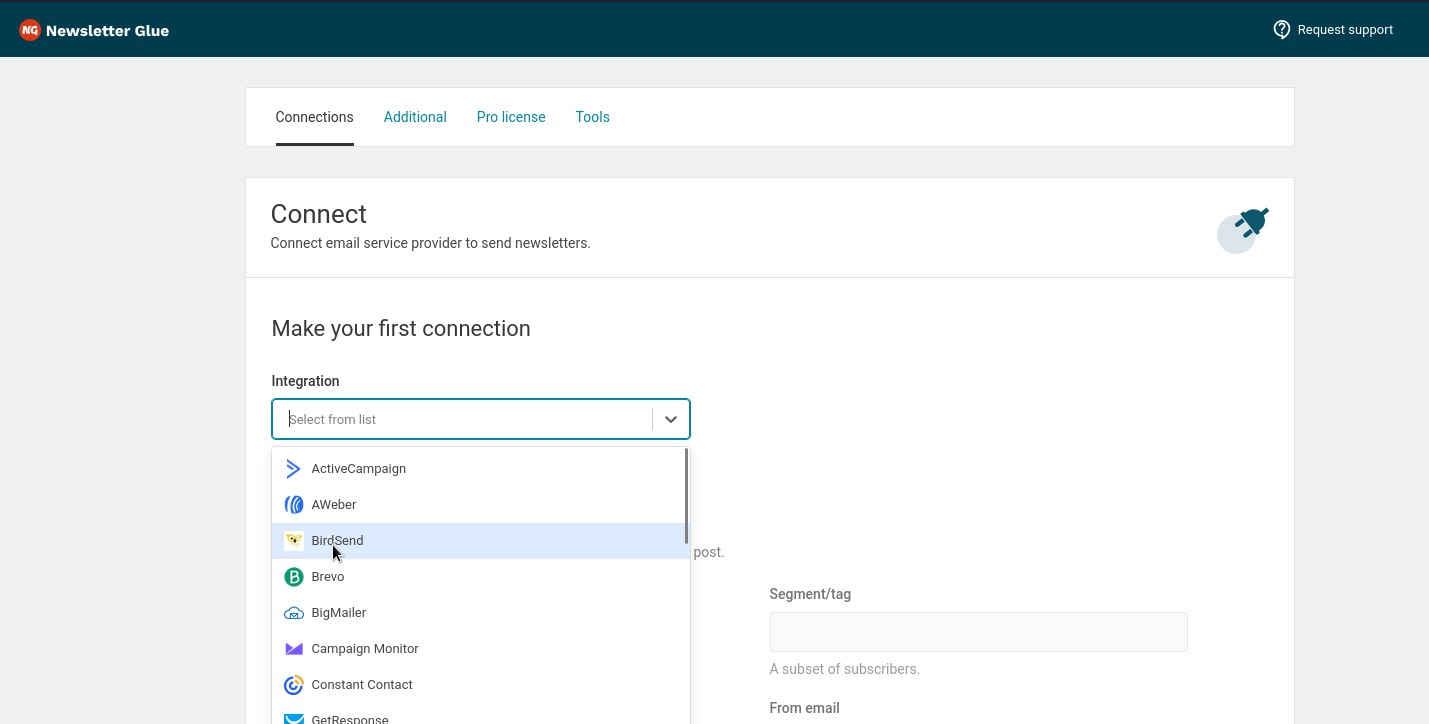
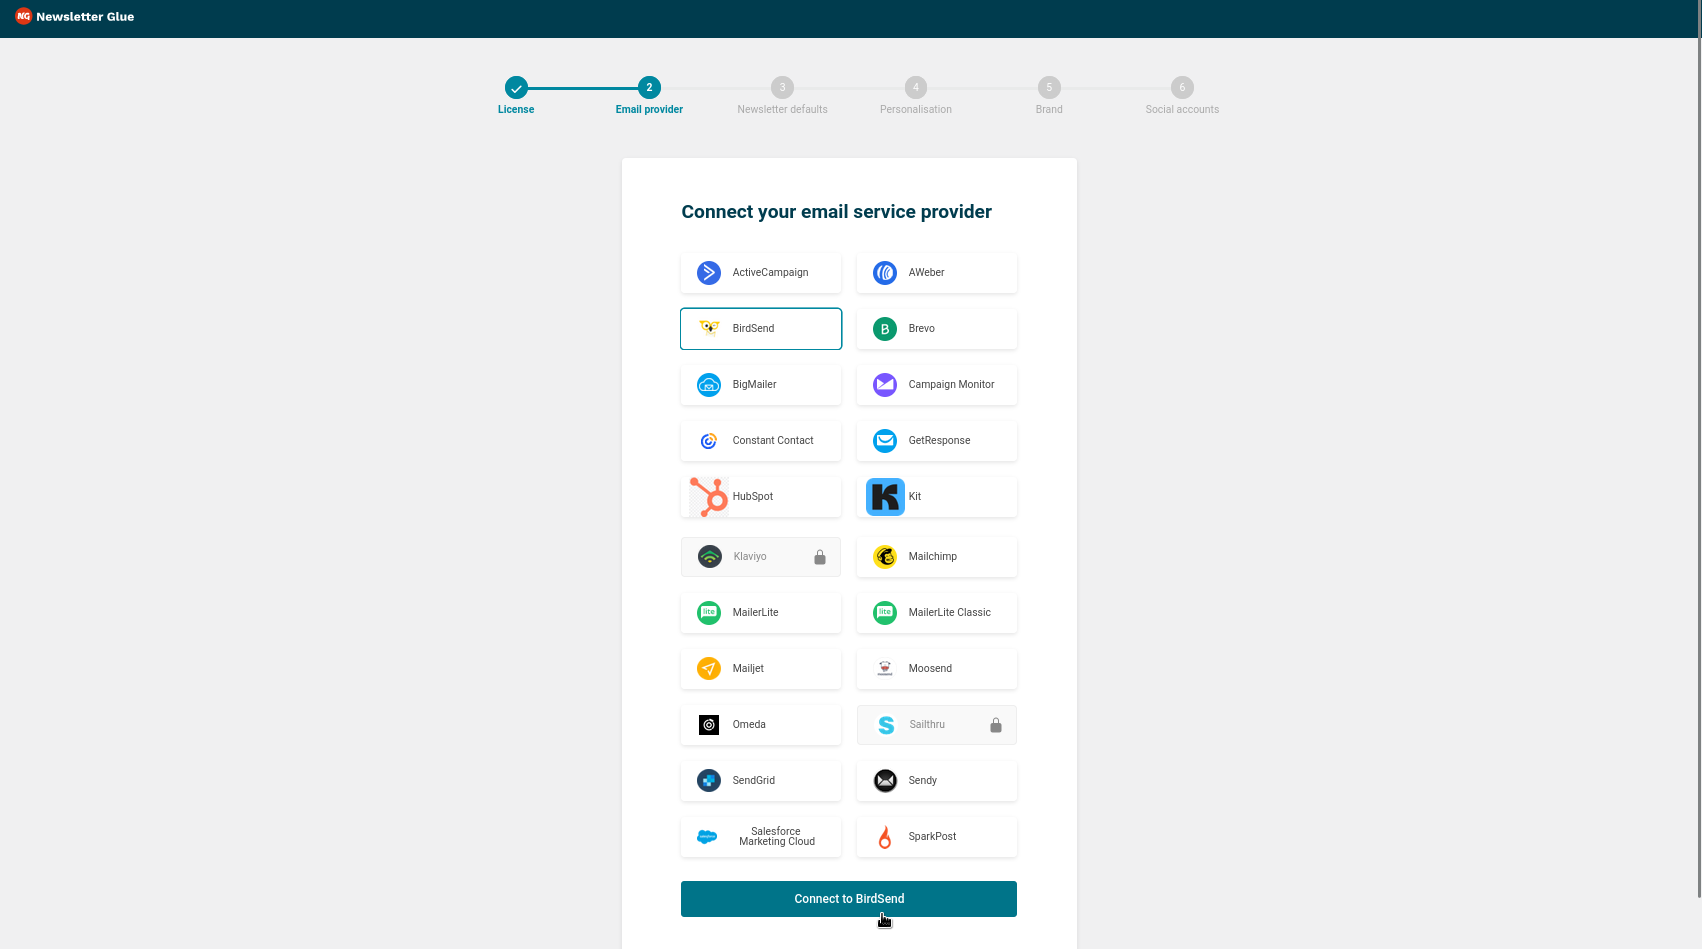
Step 1: Select BirdSend
Go to Newsletters > Settings > Connections and select BirdSend from the list.
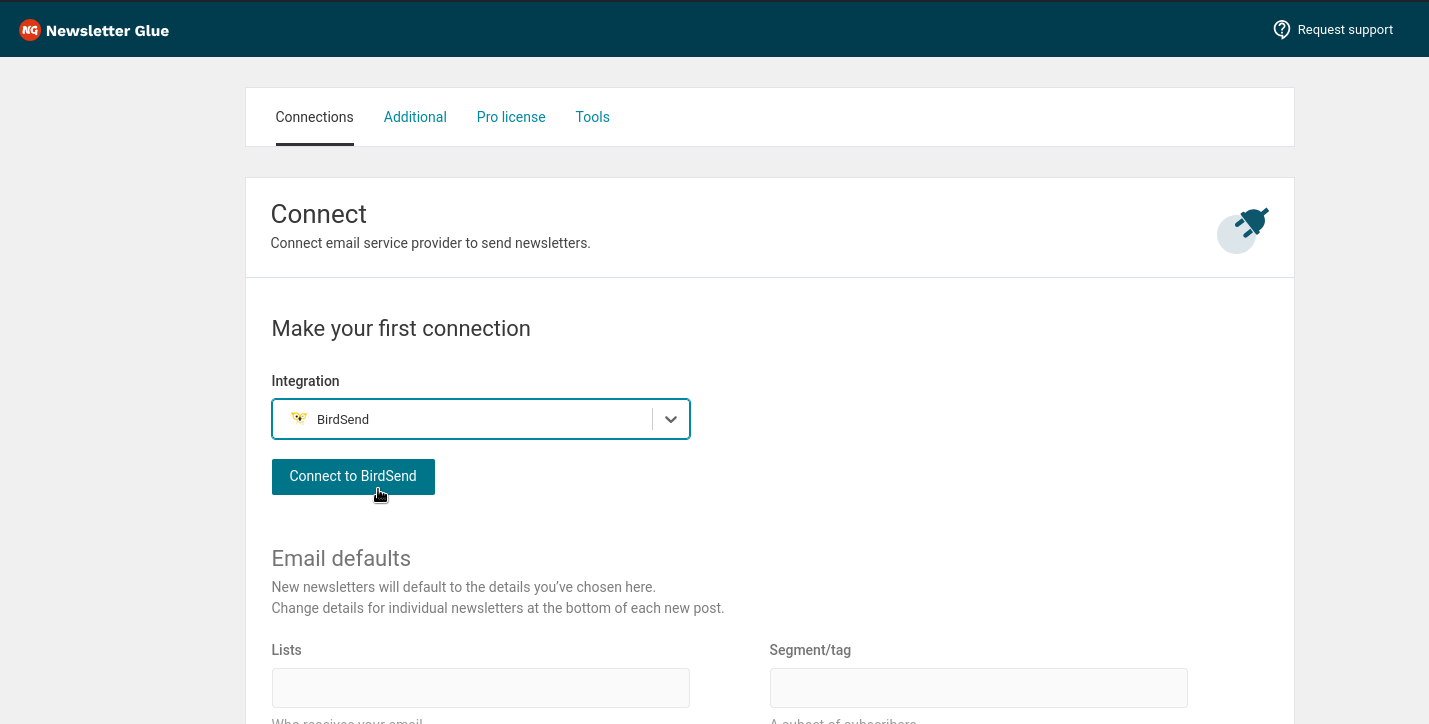
Step 2: Click Connect to BirdSend
Click the Connect to BirdSend button.
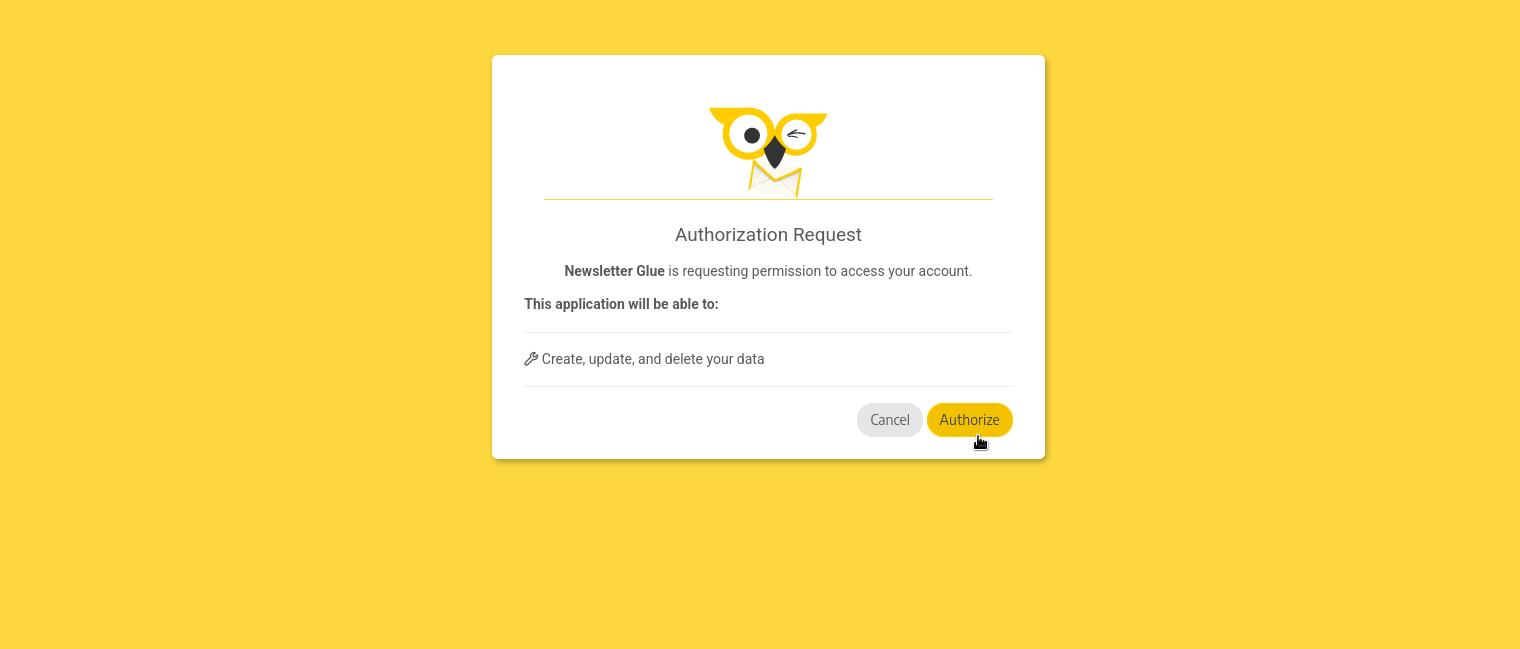
Step 3: Authorize Newsletter Glue
On the next screen, BirdSend shows an Authorization Request. If you agree with the requested scope, click Authorize.
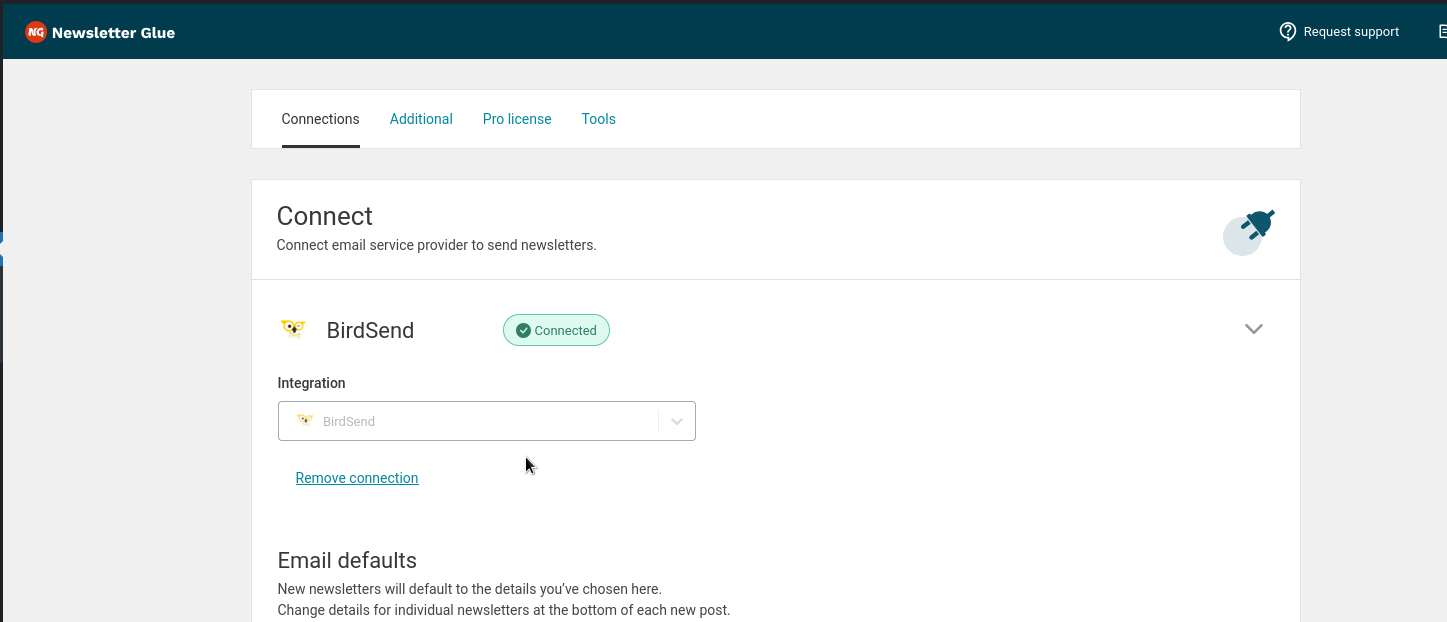
Step 4: Confirm the connection
You will be redirected back to the Newsletter Glue Connections page on your website. BirdSend now shows as successfully connected.
Connect BirdSend from the onboarding wizard
If you are setting up Newsletter Glue for the first time, you can connect BirdSend during onboarding instead.
- Select BirdSend from the list.
- Click Connect to BirdSend.
- You will be redirected to the Authorization Request page in BirdSend. Click Authorize.
- After the authorization is successful, you will be redirected back to the onboarding wizard.
Fill in your From Address
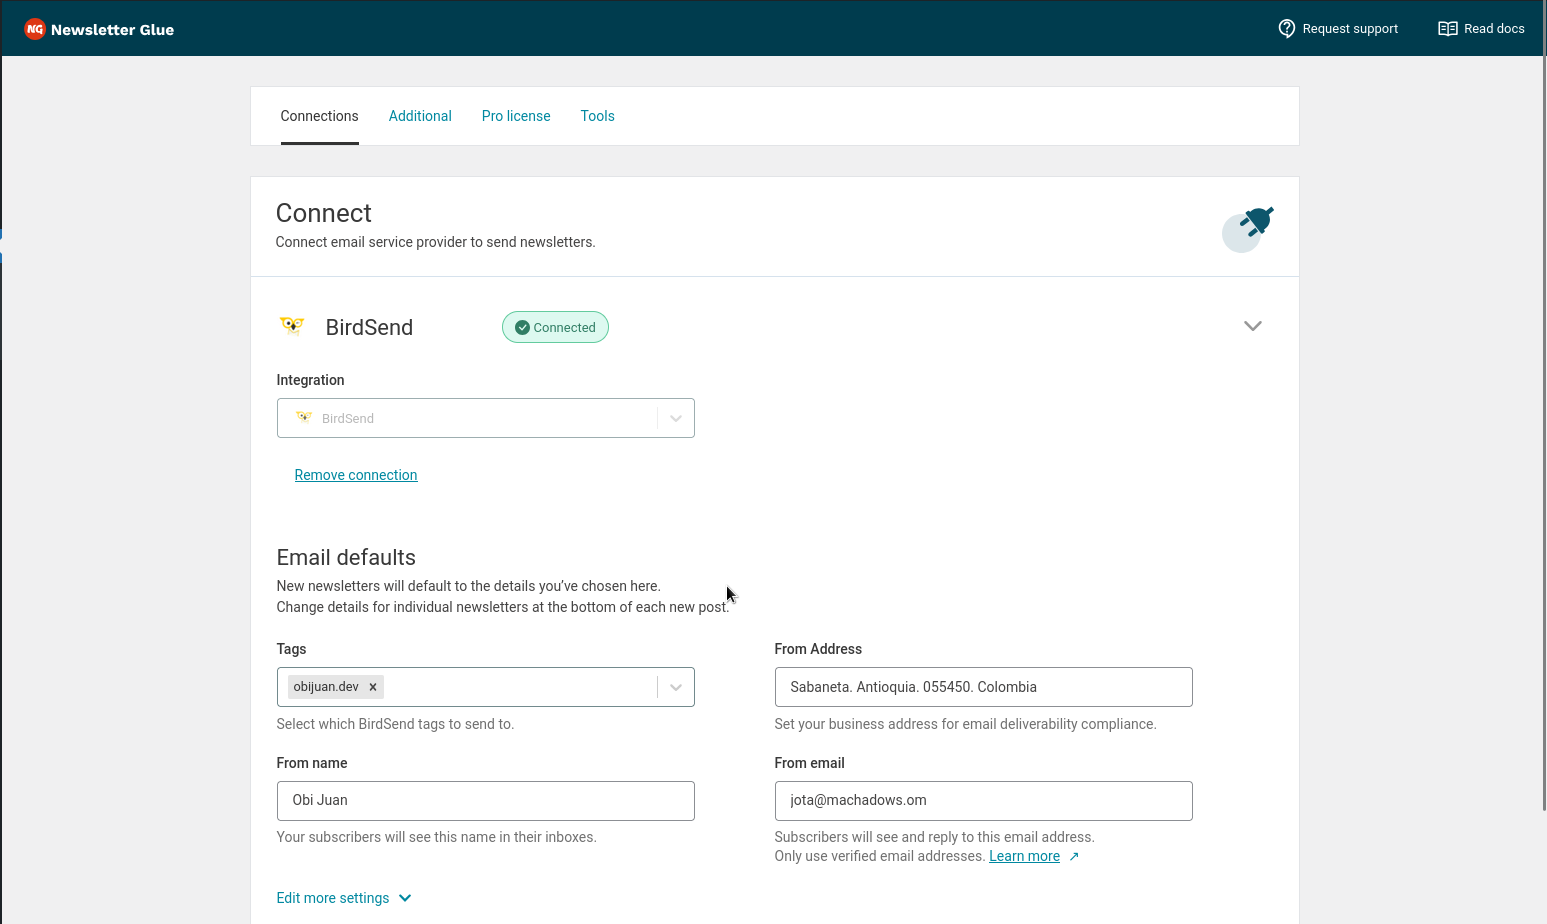
Important: whichever way you connected, remember to fill in your From Address. This is very important to comply with email deliverability policies.
- Go to Newsletters > Settings > Connections.
- Expand the BirdSend connection panel.
- Under Email Defaults, locate the From Address field and fill in your address.
Send a newsletter
- Open any campaign or automation.
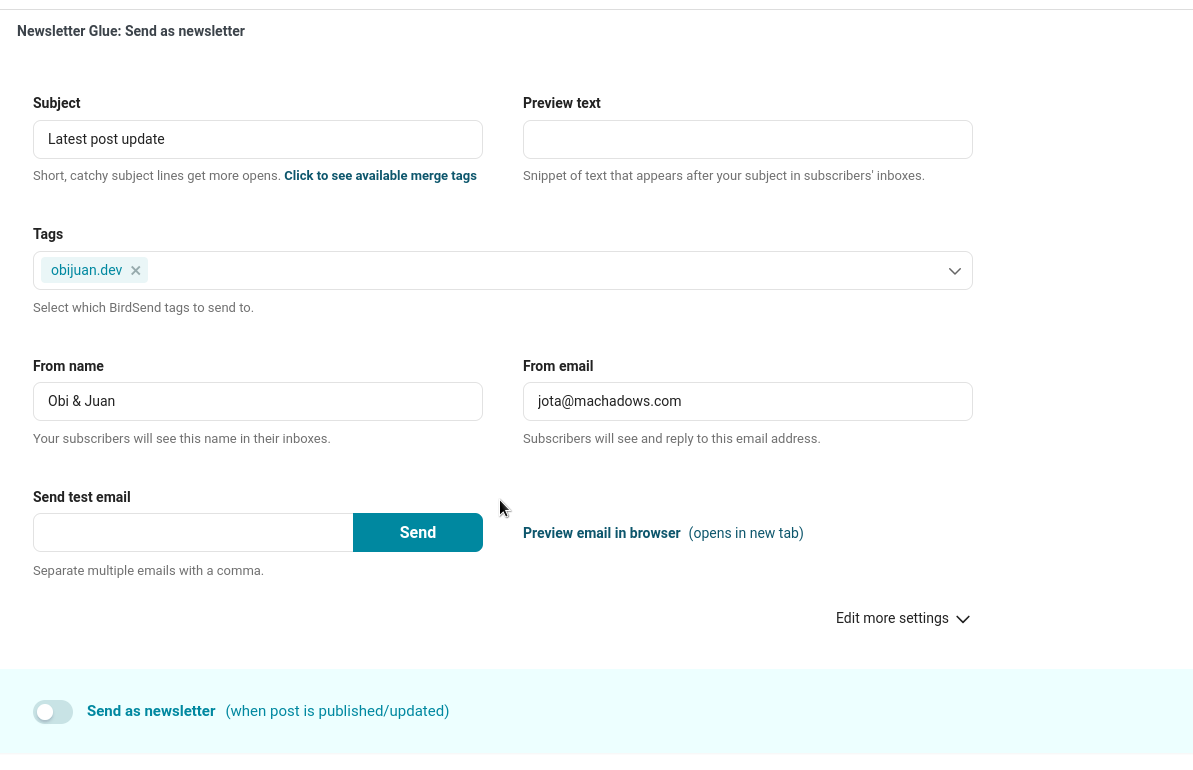
- In the editor, scroll down to the Newsletter Glue: Send as newsletter meta box.
- Set a subject line and preview text, select your tags, and set the From Name and From Email.
Good to know
- Select at least one tag for every newsletter. If you select several, subscribers with any one of those tags receive it.
- The From Email must use a domain that is verified in your BirdSend account.
- Sending a test email creates a draft broadcast in BirdSend. Send the test from your BirdSend dashboard.
- Personalization merge tags are not yet supported for BirdSend.