
Anti-spam laws such as CAN-SPAM and CASL require every newsletter to include a way to unsubscribe and your mailing address. With Newsletter Glue ESP, this is handled by three pages on your site and a footer at the bottom of your emails.
The three subscriber pages
- Unsubscribe page: where a subscriber lands when they click the unsubscribe link.
- Manage Subscription page: where subscribers choose which of your newsletters they get. See Set up paid-only and optional newsletters.
- Why did I get this? page: tells readers why they’re on your list.
Set up the pages
The pages are optional. Until you set them up, the links in your emails go to simple default pages that Newsletter Glue provides. Set them up so the pages match the rest of your site.
- Go to Newsletters > Pages.
- Click Create these pages for me automatically. Or, for each page, choose one of your existing pages, or Create a new page for me.
- Click Save.
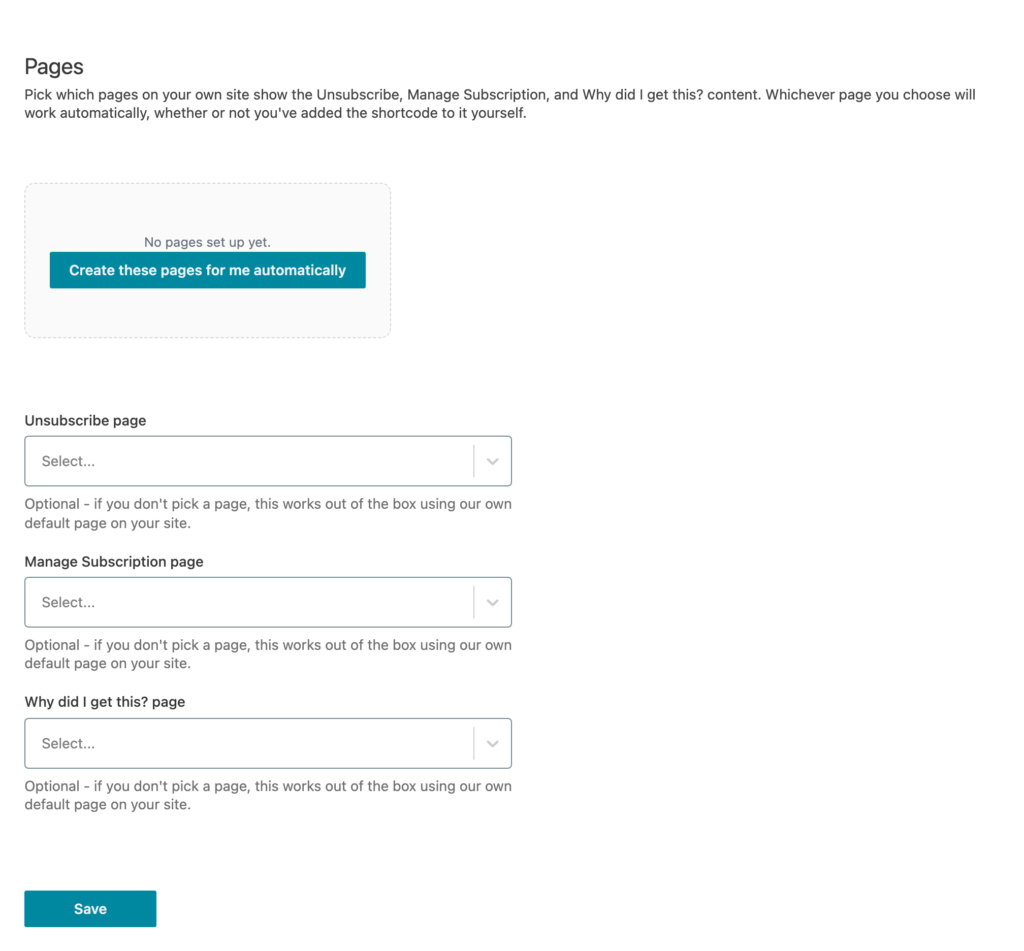
After you click Create these pages for me automatically, each field shows its new page:
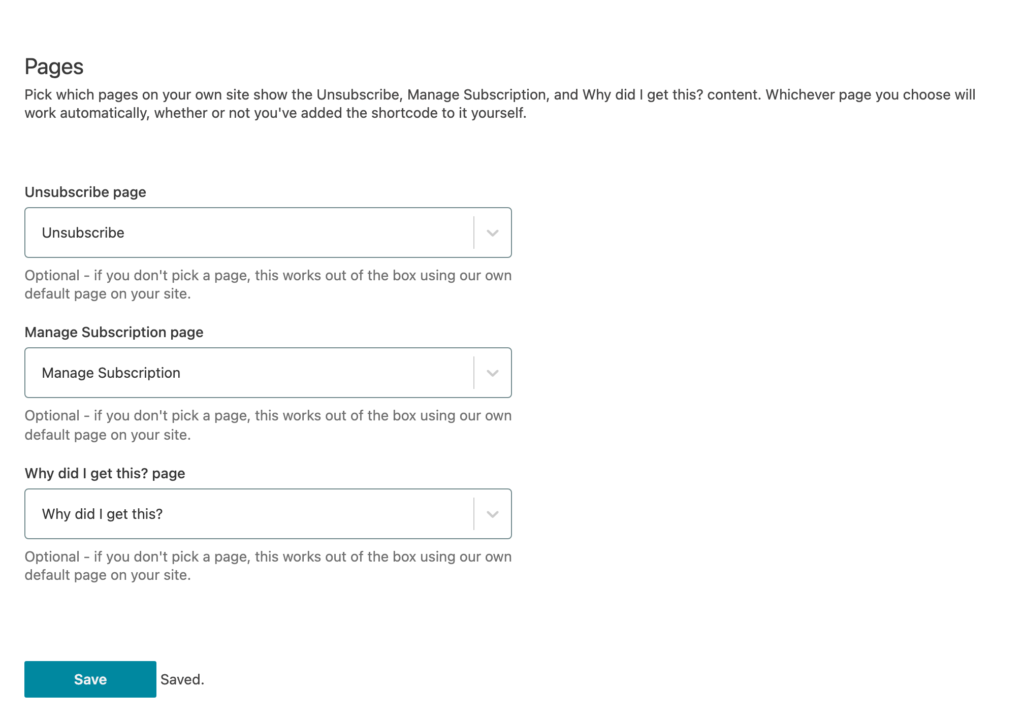
You can pick any published page, and it works whether or not it contains a shortcode. Pages created for you contain one: [ngl_ngesp_unsubscribe], [ngl_ngesp_manage_subscription] or [ngl_ngesp_why_did_i_get_this]. You can change the page title and add your own text around it. Keep the page published.
Add your mailing address
Go to Newsletters > Settings > Connections and fill in Physical mailing address. If the field shows a red warning, the address isn’t on file yet.
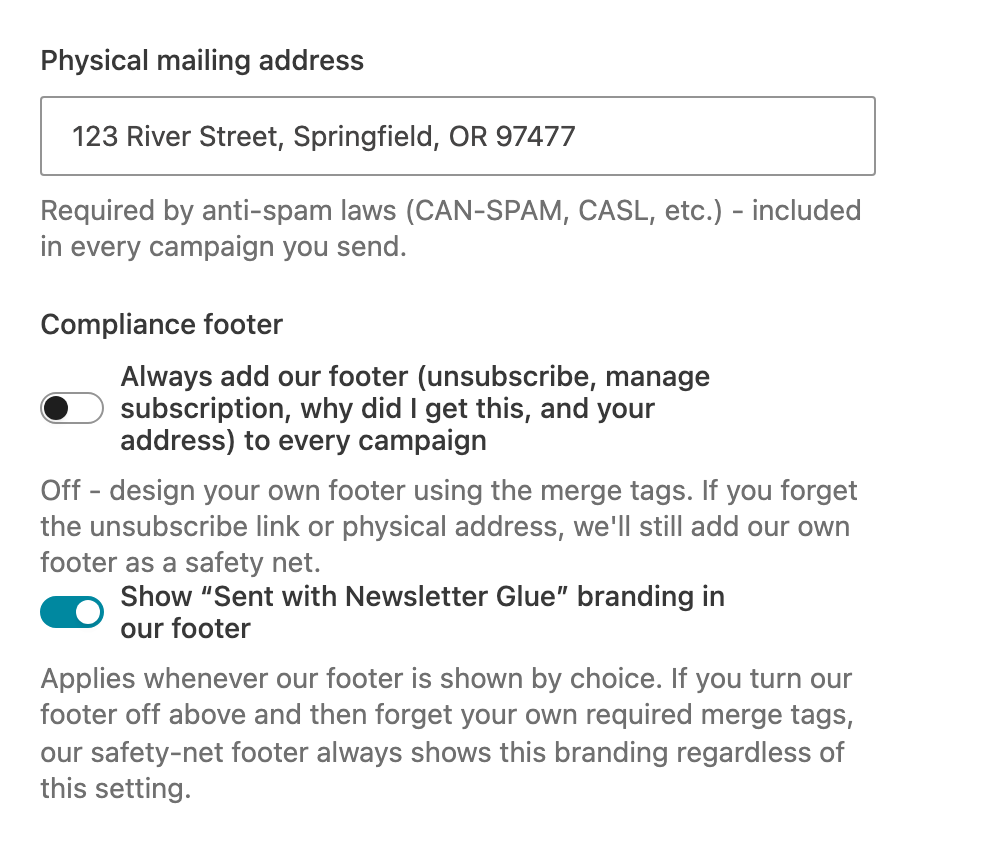
Choose your footer
You can use our footer, or design your own.
Use our footer
Under Compliance footer, turn on Always add our footer (unsubscribe, manage subscription, why did I get this, and your address) to every campaign. Every email then ends with:
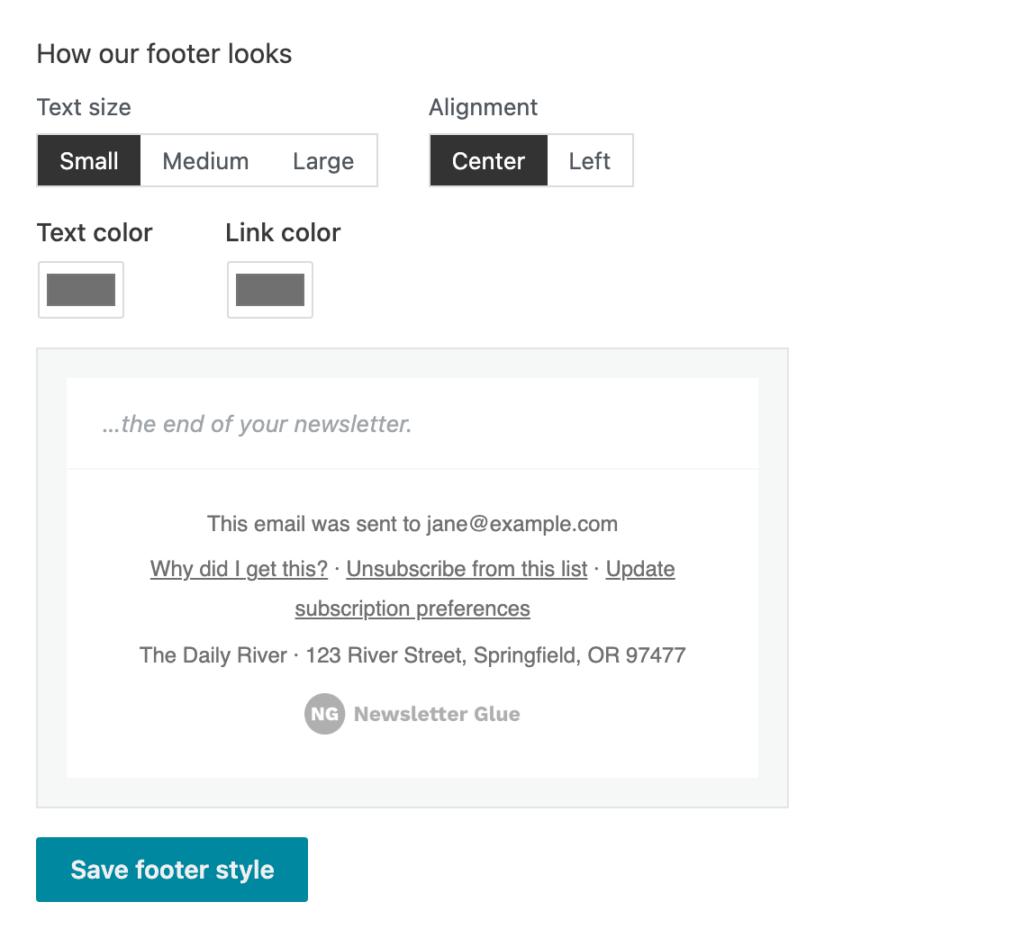
- “This email was sent to” and the subscriber’s email address.
- Links to Why did I get this?, Unsubscribe from this list and Update subscription preferences.
- Your from name and your mailing address.
To change how it looks, open How our footer looks. Pick the text size, alignment, text color and link color, then click Save footer style. The preview shows how the footer will look in your emails.
Turn off Show “Sent with Newsletter Glue” branding in our footer to remove the small Newsletter Glue logo.
Design your own footer
Leave Always add our footer off and add these merge tags to your newsletter template instead:
{{ unsubscribe_link }}: the subscriber’s unsubscribe link. Required.{{ physical_address }}: your mailing address. Required.{{ manage_subscription_link }}: link to the Manage Subscription page.{{ why_did_i_get_this_link }}: link to the Why did I get this? page.
Note: If a newsletter is missing {{ unsubscribe_link }} or {{ physical_address }}, Newsletter Glue adds our footer anyway, so every email you send stays compliant. That safety-net footer always shows the “Sent with Newsletter Glue” logo. Add both merge tags to avoid it.