Note: the Ad Inserter block requires a Newsletter Glue Pro subscription.
Getting started
Easily insert ads into your newsletter campaigns using our Ad Inserter block. First, navigate to Settings -> Additional and scroll to the Global Block Settings area. This is where you’ll find Ad Inserter settings.

Choose your current ad integration. We currently support WP Advanced Ads and Broadstreet. For this example, we’ll choose WP Advanced Ads and Save.

How to insert a single ad
Create a newsletter campaign in Newsletter Glue and drag the Ad Inserter block into your newsletter.

Search for the advertisement in WP Advanced Ads or Broadstreet depending on your specific ad platform.

Select the desired ad.

The ad has been placed in our newsletter!

From here, you can adjust the size, modify the link, and prepare to fire your newsletter!
How to use dynamic Ad Zone placements
Ad Zone placements allow you to dynamically place ads in your newsletter from a specific Ad Zone group without the need to manually adjust each time. This function will randomly pull an ad from your chosen Ad Zone group from Broadstreet and send that ad to all subscribers. This is currently supported with Broadstreet only.
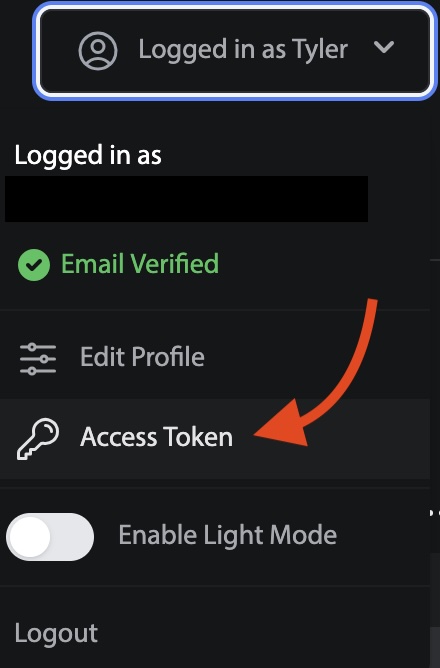
To get started, you’ll need to grab your Access Token from Broadstreet.

Next, set Broadstreet as the Ad Manager Integration in Newsletter Glue. Go to Settings -> Additional -> Ad Inserter and select Broadstreet as your ad provider.
Enter the Access Token from Broadstreet.

Drag the Ad Inserter block to a Newsletter Glue campaign and find the Insert from Ad Zone option.

Select the desired Ad Zone from Broadstreet.

And that’s it! You’ll now pull in a random ad from your Ad Zone with each newsletter campaign sent.
