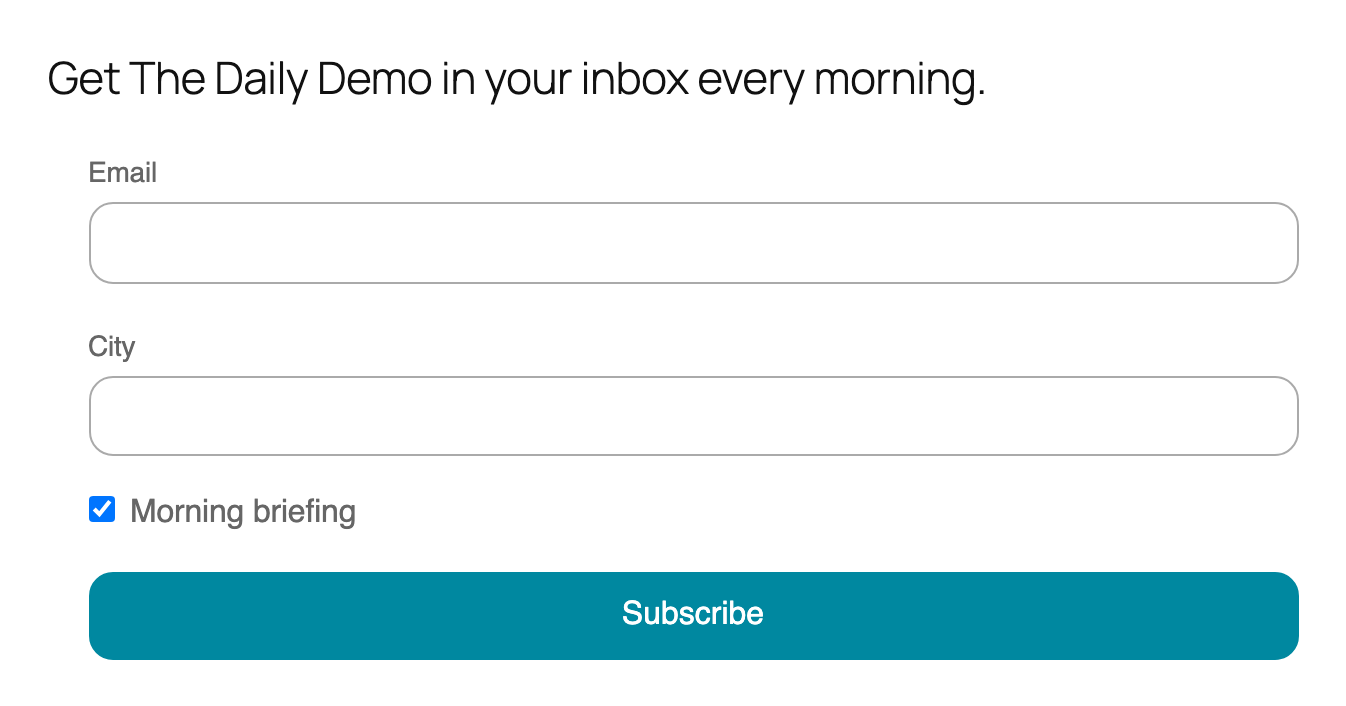
Use the subscriber form block to add a form to your newsletter.
00:00 Type “/sub” in the Gutenberg block editor to start. “/ng” or “/newsletter” will work too.
00:08 All text is editable inside the post editor itself.
00:10 Choose portrait or landscape orientation for your form.
00:14 Change button and field radius
00:19 Change padding between form fields
00:23 Add form header, description and name field
01:08 Everything is editable inside the post editor itself.
01:16 Add text beneath button.
01:29 Add checkbox.
01:46 Edit success message.
02:02 Choose colour options for button background, border and text
02:30 Select your email list/segment (your email service provider is already integrated, no additional work necessary)
02:40 Show/hide block from newsletter or blog
Newsletter Glue ESP: ask for more details
If you send with Newsletter Glue ESP, the form can fill in your list’s custom fields. Select the Subscriber form block and open Ask for more details in the block settings.
- Under Add a field, choose one of your list’s custom fields.
- To show it as a text field, set its Label and Placeholder, and turn on Make it required if needed.
- To tag sign-ups without asking, turn on Fill it in for them (hidden) and enter a Value, for example Source = Homepage. It’s saved on everyone who signs up with this form.
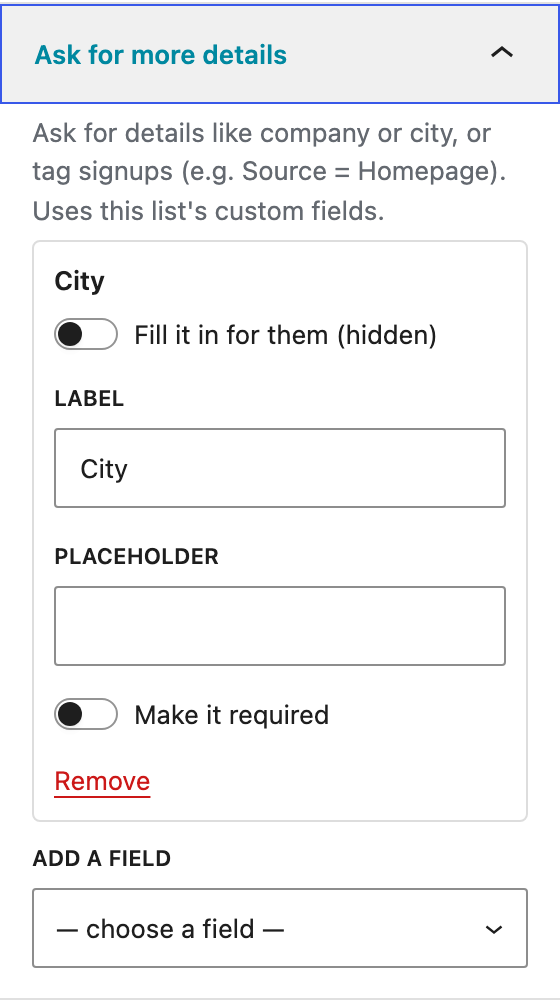
The panel only lists fields that already exist on your list. Create new ones on the list’s Custom fields tab first.
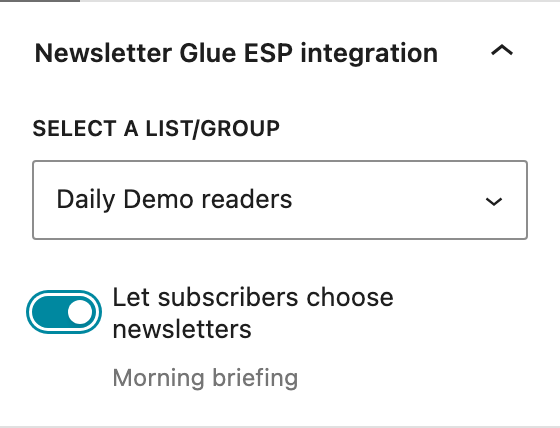
Let subscribers choose newsletters
If your list has paid-only or optional newsletters, turn on Let subscribers choose newsletters in the block’s Newsletter Glue ESP integration settings. Your newsletters show as checkboxes. Each one is ticked unless that newsletter starts switched off. Only newsletters for everyone appear; paid-only newsletters never show on public forms.
Here’s the form with a City field and a newsletter choice: