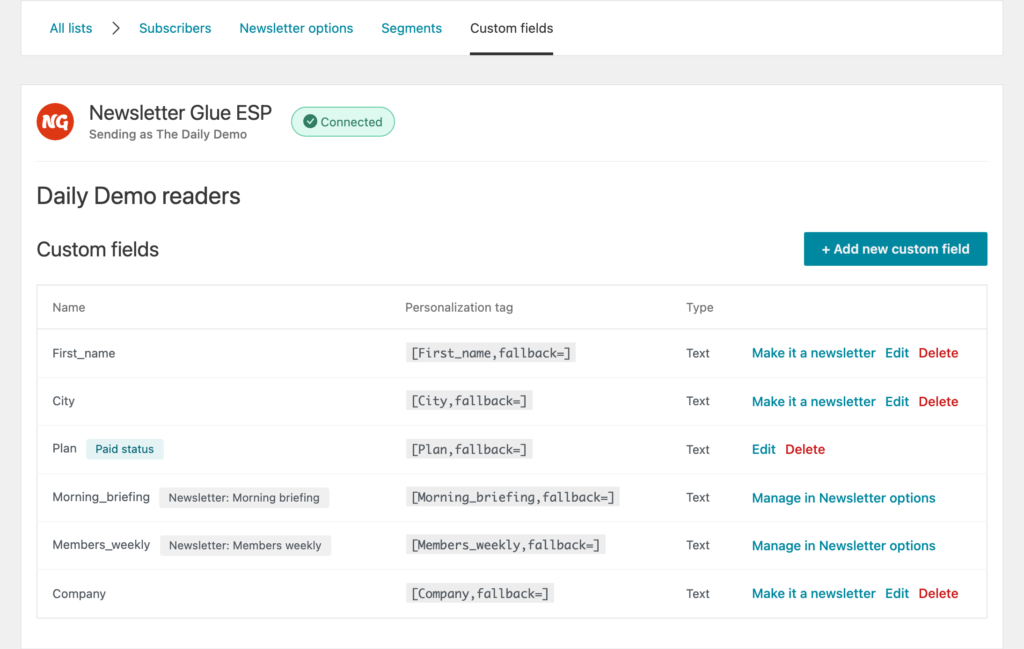
Bring an existing list into Newsletter Glue ESP from a CSV file. Every address is checked with MillionVerifier, and only valid, verified addresses are imported. Extra columns in your file can be saved as custom fields.
Before you start
- Newsletter Glue connected to Newsletter Glue ESP.
- A CSV file with a header row and a column of email addresses.
- Up to 10,000 rows per file. Split bigger lists into several files.
Upload your file
- Go to Newsletters > Lists & Subscribers and click View next to your list.
- On the Subscribers tab, click + Add new subscriber.
- Click Import Subscribers.
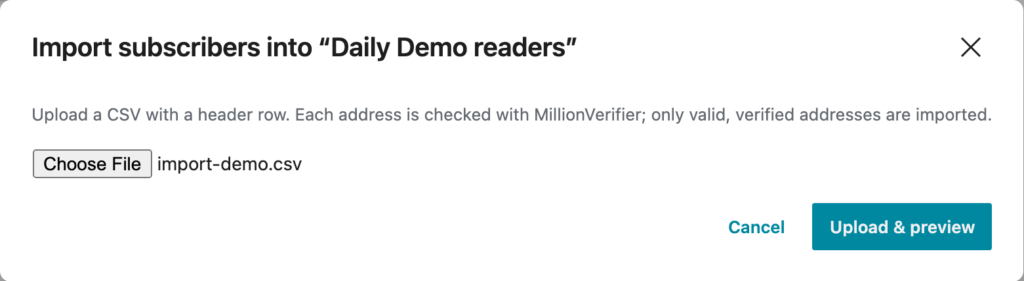
- Choose your CSV file and click Upload & preview.

Match your columns
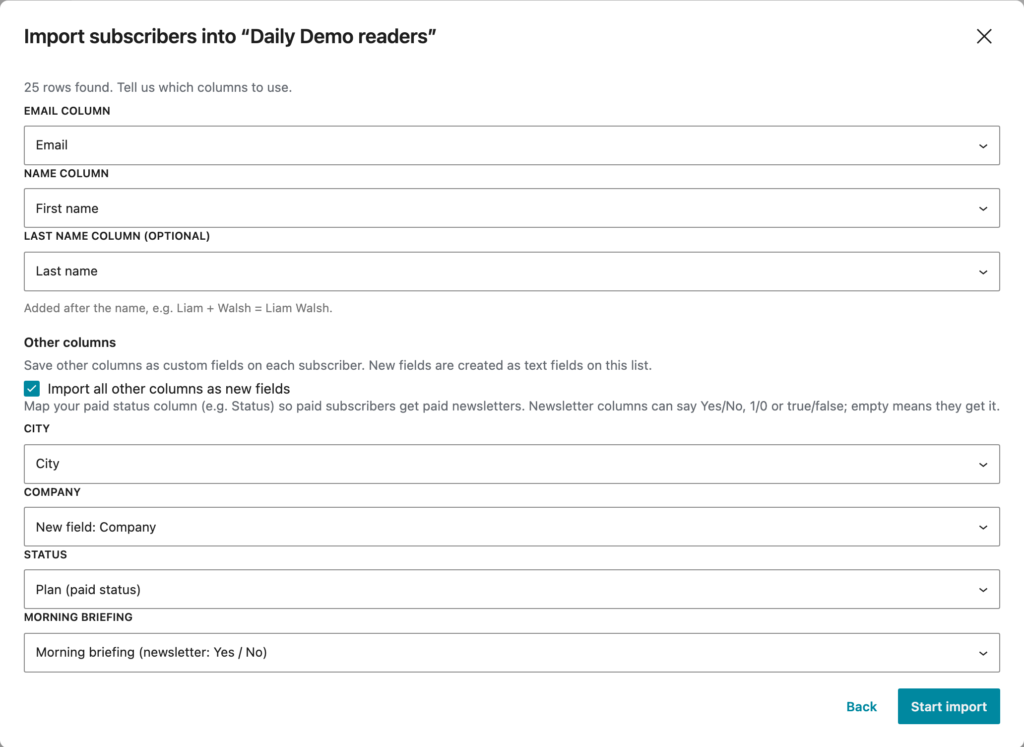
Newsletter Glue shows how many rows it found and suggests a match for each column. Check each one:
- Email column: required.
- Name column: the subscriber’s full name, or their first name.
- Last name column (optional): added after the name, so Liam + Walsh becomes Liam Walsh. The name column is then saved as the first name.
If you only have a full name, the first word is saved as the first name, so the {{ first_name }} merge tag works.
Save other columns as custom fields
Under Other columns, choose what happens to each remaining column: — don't import —, an existing custom field, or New field: [column name]. New fields are created as text fields on the list. Tick Import all other columns as new fields to do this for every column at once.
Every column that isn’t matched is set to New field at first. Check the list before you start, and set columns you don’t need to — don't import —.
A list can have up to 30 custom fields in total, including the ones it already has. If your import would go over that, you’ll see: “This import would create … new custom fields, more than the 30 allowed per list.” Choose fewer columns to import as new fields.
Newsletter and paid columns
If your list uses Newsletter options, the import can set them too.
- Newsletter columns: a column with the same name as a newsletter is matched to it automatically. No, n, 0, false, off, unsubscribed, opted out and opt out turn the newsletter off. Anything else, including an empty cell, leaves it on.
- Paid status: map your paid-status column (for example Status) to the paid field, so paid subscribers get paid newsletters. Values are saved as they are, so they must match your paid rule, for example paid.
Run the import
- Click Start import.
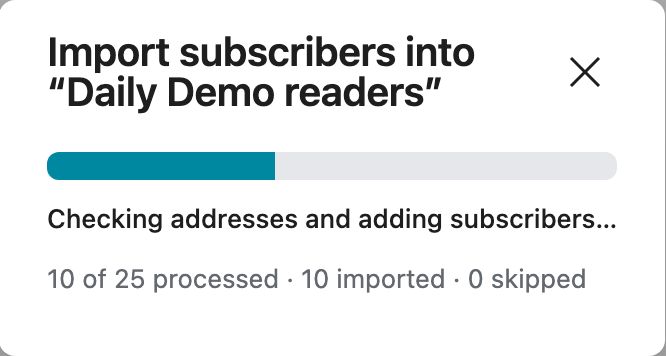
- A progress bar shows how many rows are processed, imported and skipped. Keep the window open until the import finishes.
- When the import finishes, the window closes and your new subscribers appear in the list.
If none of the rows could be imported, the window stays open instead. Click Download skipped report to see why each row was skipped, then click Done.
The list’s segments are recalculated when the import finishes, so they include your new subscribers. New fields appear on the list’s Custom fields tab.